Set up an AD FS server and configure SSO
Section 1: Install IIS Web Server
NOTE: If IIS is already installed on your Windows Server, skip to Section 2.
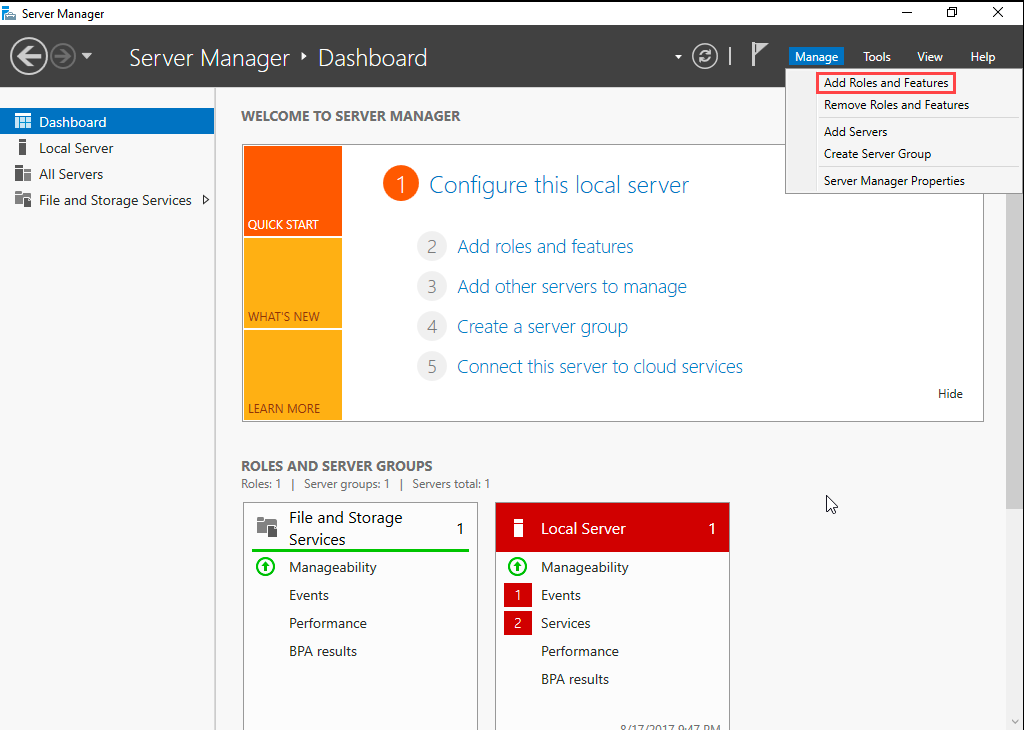
Open the Server Manager application on Windows Server.
In Server Manager, go to Manage, and then click Add Roles and Features.
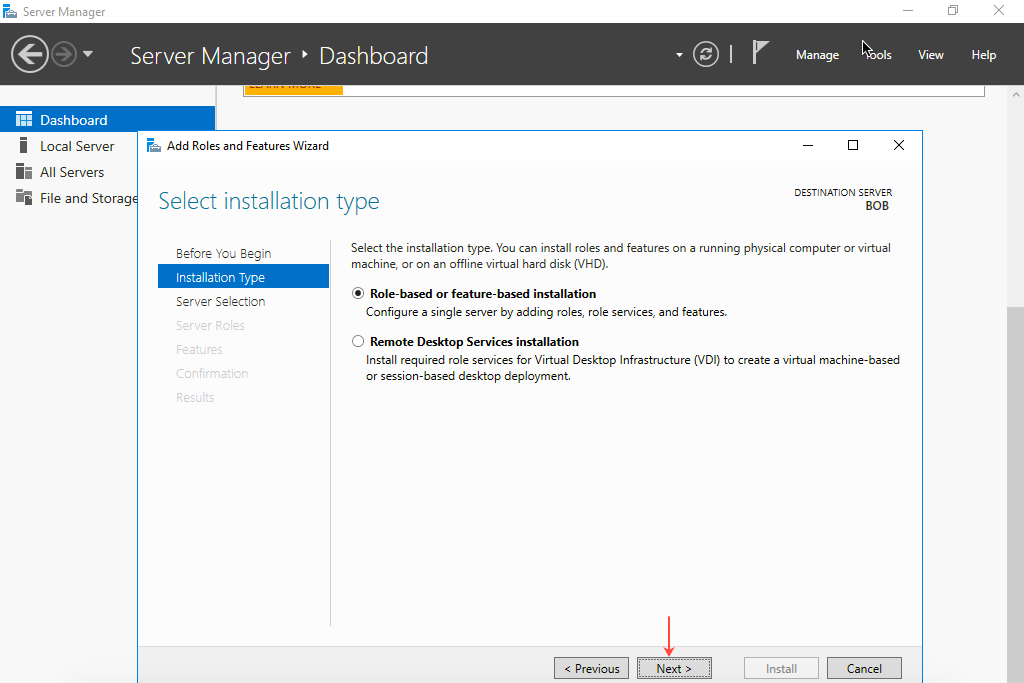
The Add Roles And Features wizard opens.
Click Next.
Select Role-based or feature-based installation and then click Next.
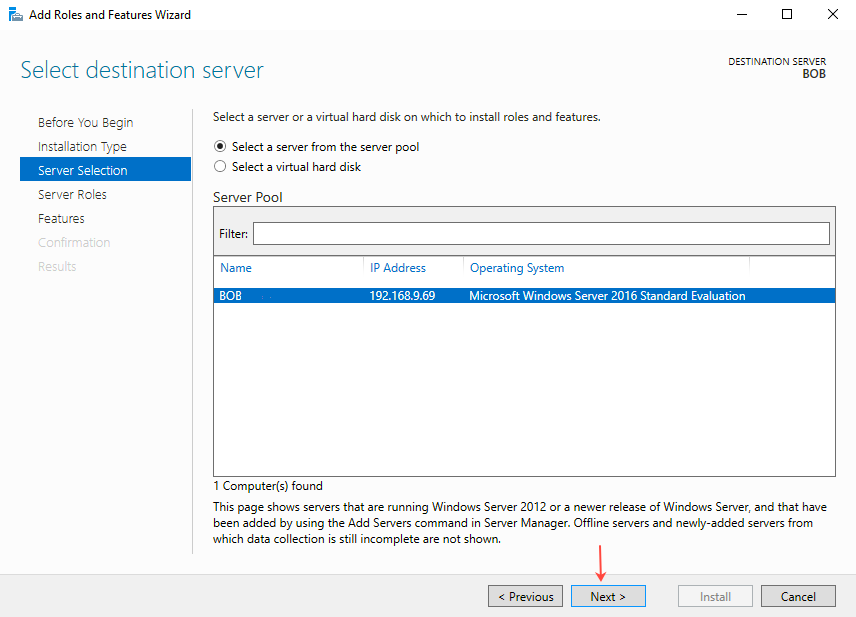
Click Select a server from the server pool and then select the server on which to install IIS Web Server. Click Next.
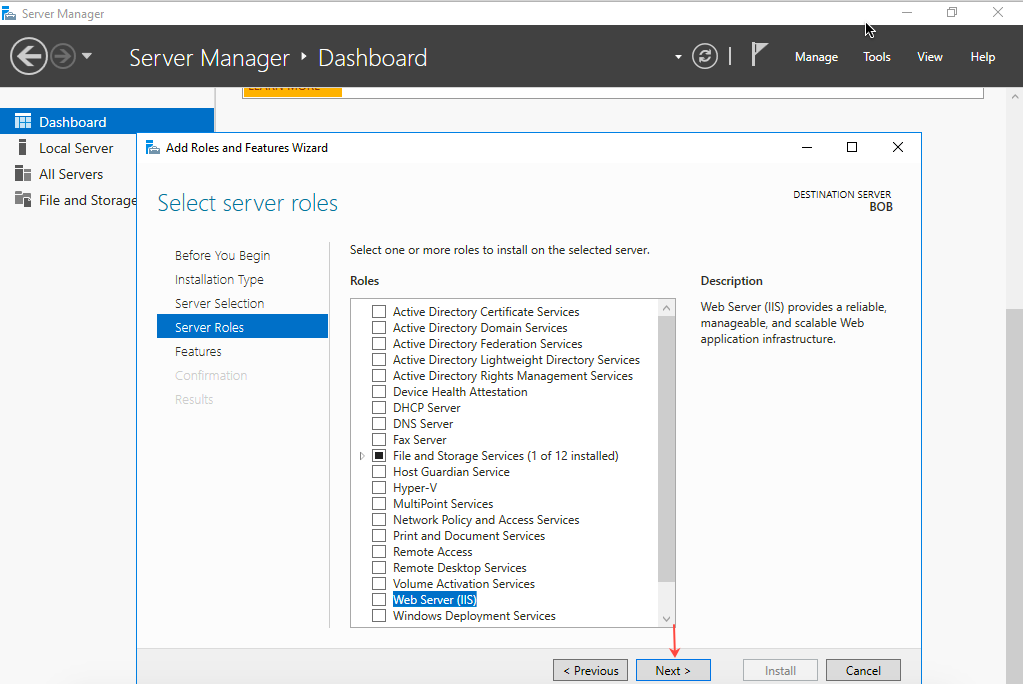
Select Web Server (IIS) from Server Roles and then click Next.
In the Add Roles and Features Wizard, select Install management tools (if applicable) and then click Add features.
Select Web Server (IIS) and click Next.
On the Select Features page, select .NET Framework 3.5 Features and then click Next.
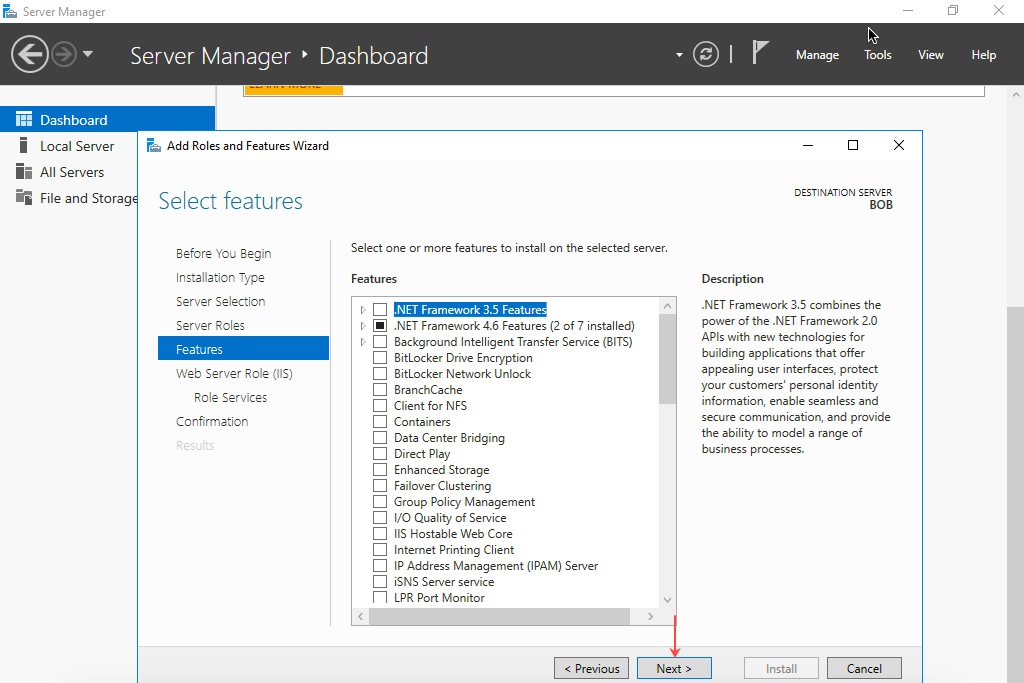
On next page, click Next.
On next page (Select Role Services), keep the defaults and click Next.
Select Restart the destination server automatically if required.
Click Install.
Close the window when the installation is complete.
Section 2: Install Active Directory Domain Services (AD DS)
NOTE: If AD DS is already installed on the Windows Server, skip to Section 3.
Open the Server Manager application on Windows Server.
In Server Manager, go to Manage, and then click Add Roles and Features.
The Add Roles And Features wizard opens.
Click Next.
Select Role-based or feature-based installation and then click Next.
Click Select a server from the server pool and then select the server on which to install IIS Web Server. Click Next.
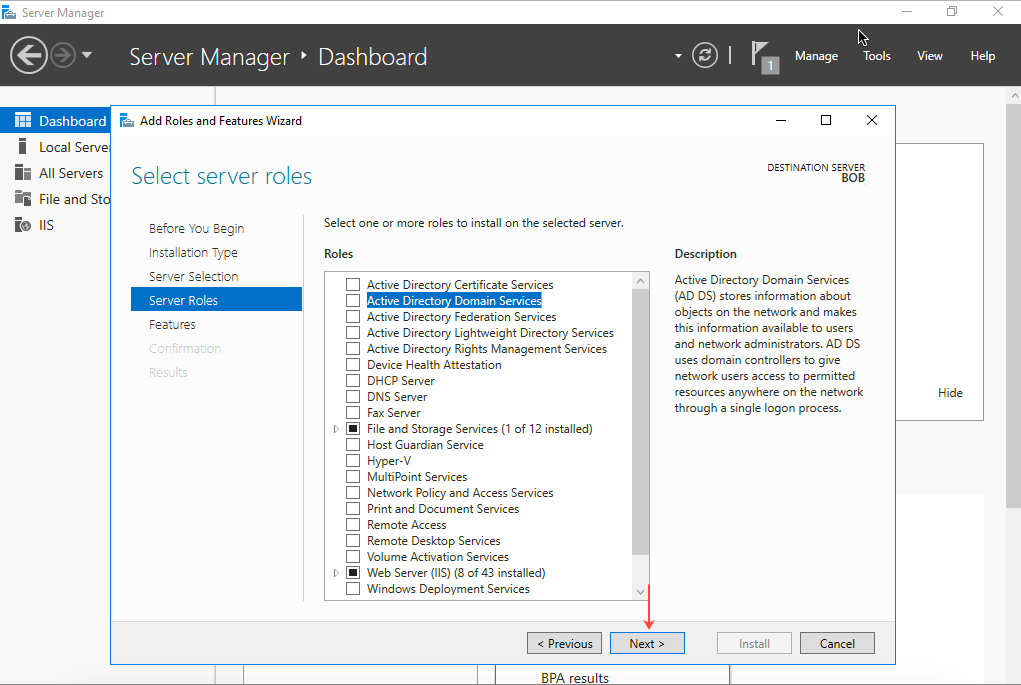
On the Select Server Roles page, select Active Directory Domain Services and then click Next.
In the Add Roles and Features Wizard, select Include Management tools (if applicable) and then click Add Features.
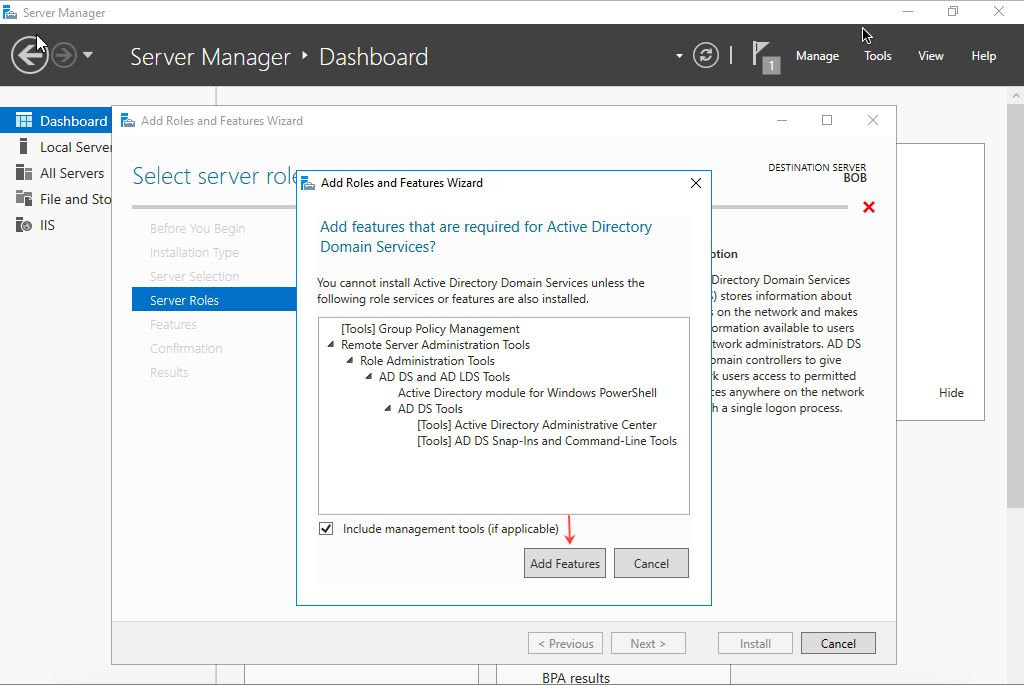
Select AD DS and then click Next.
On the Select Features page, select .NET Framework 3.5 Features and then click Next.
On next page, click Next.
On last page, select Restart the destination server automatically if required.
Click Install.
Click Close when the installation is complete.
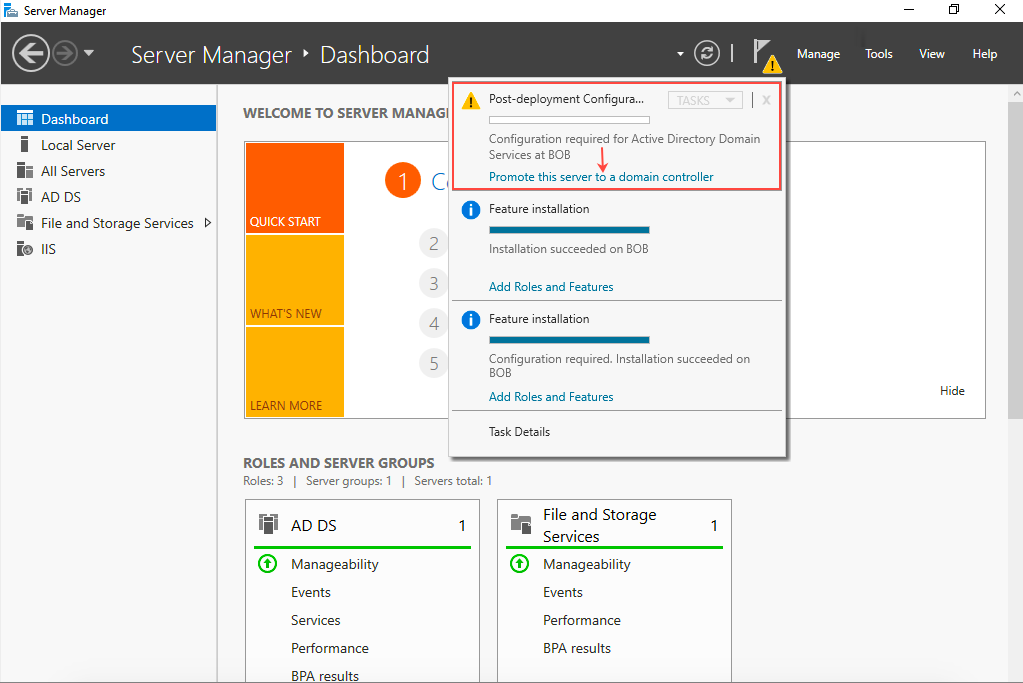
In the Notifications section of the Server Manager page, in the Post Deployment Configuration... notification, click Promote this server to a domain controller.
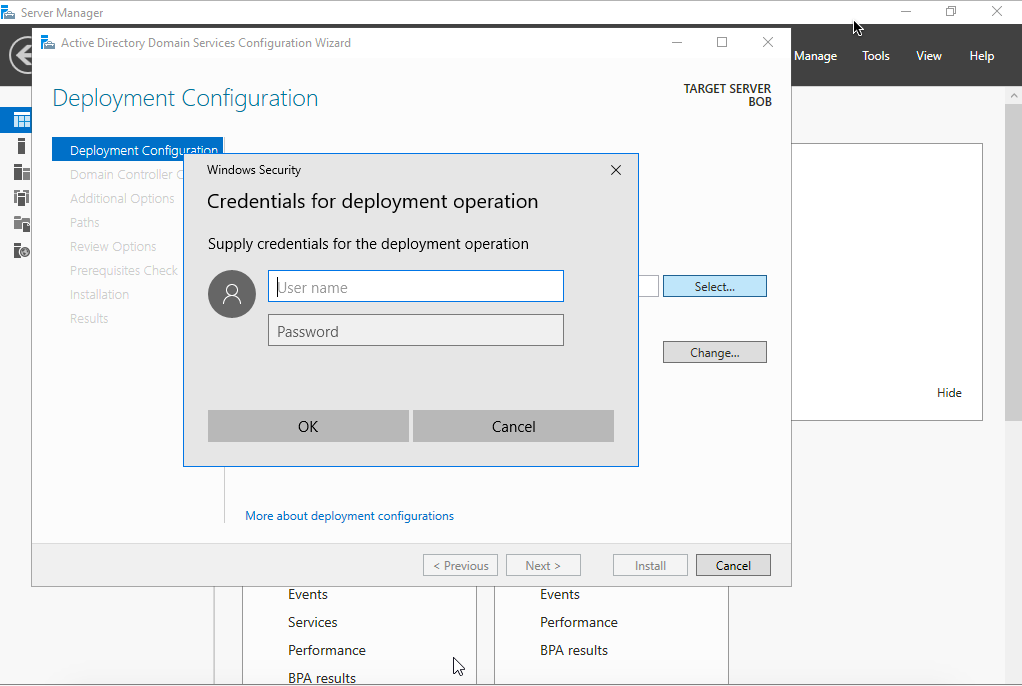
The Deployment Configuration page opens.
In the Windows Security pop-up panel, enter the Username and Password of the local machine and then click OK.
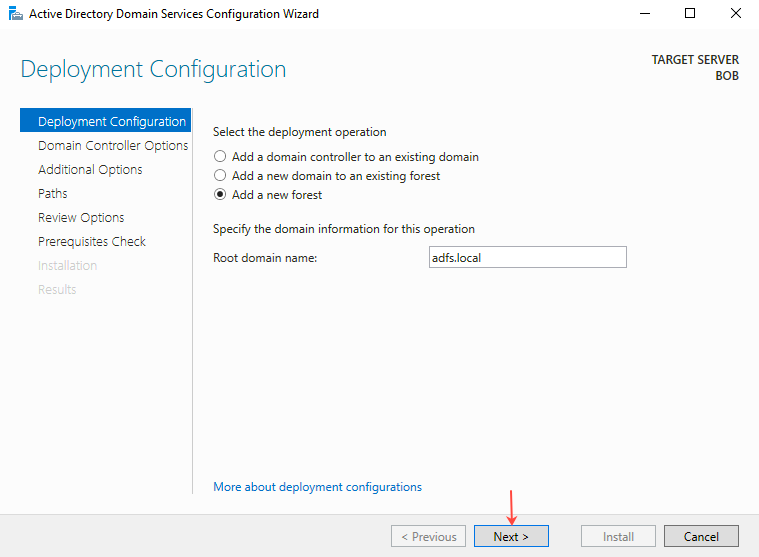
On the Deployment Configuration page, select Add a new forest, provide the Root domain name (example: tenfold.local), and then click Next.
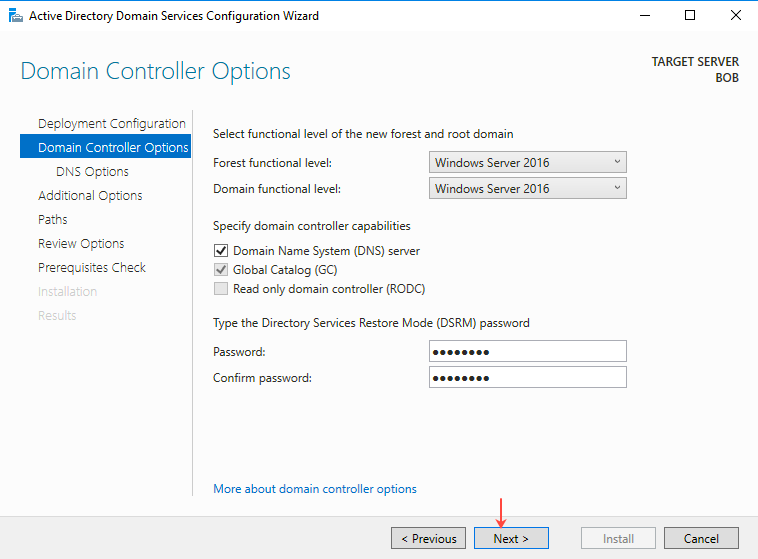
The Domain Controller Options page opens.
Provide and confirm the password for Directory Service Restore mode (DSRM), and make sure the configuration is same as shown below:
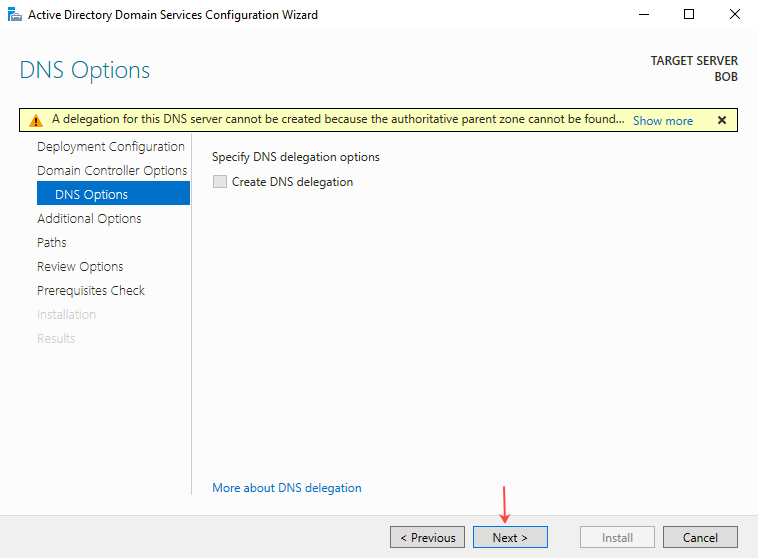
On the DNS Options page, click Next.
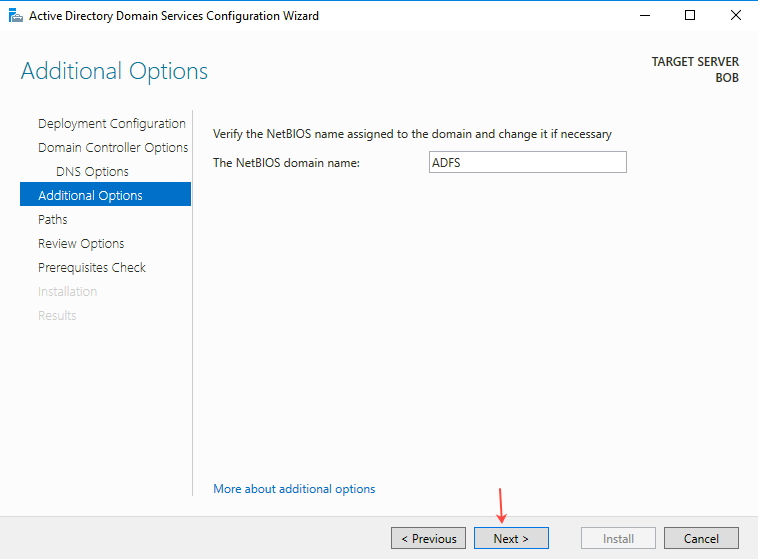
On the Additional Options page, enter the NetBIOS domain name in the field provided and then click Next.
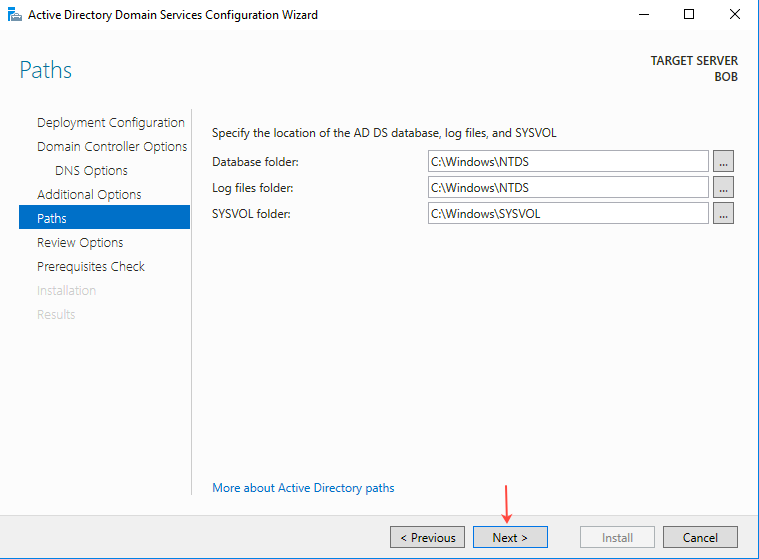
On the Paths page, provide the required paths as shown below, and then click Next.
Review all the options on the Review Options page and then click Next.
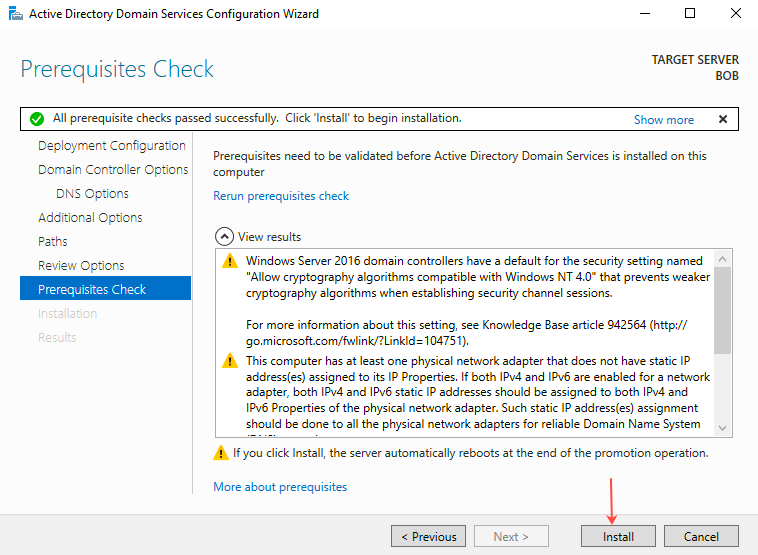
On the Prerequisites Check page, validate the prerequisites and then click Install.
The Installation page shows the installation progress. Click Close when the installation is complete.
Section 3: Install Active Directory Federation Services (AD FS)
Open the Server Manager application on Windows Server.
In Server Manager, go to Manage, and then click Add Roles and Features.
The Add Roles And Features wizard opens.
Click Next.
Select Role-based or feature-based installation and then click Next.
Click Select a server from the server pool and then select the server on which to install IIS Web Server. Click Next.
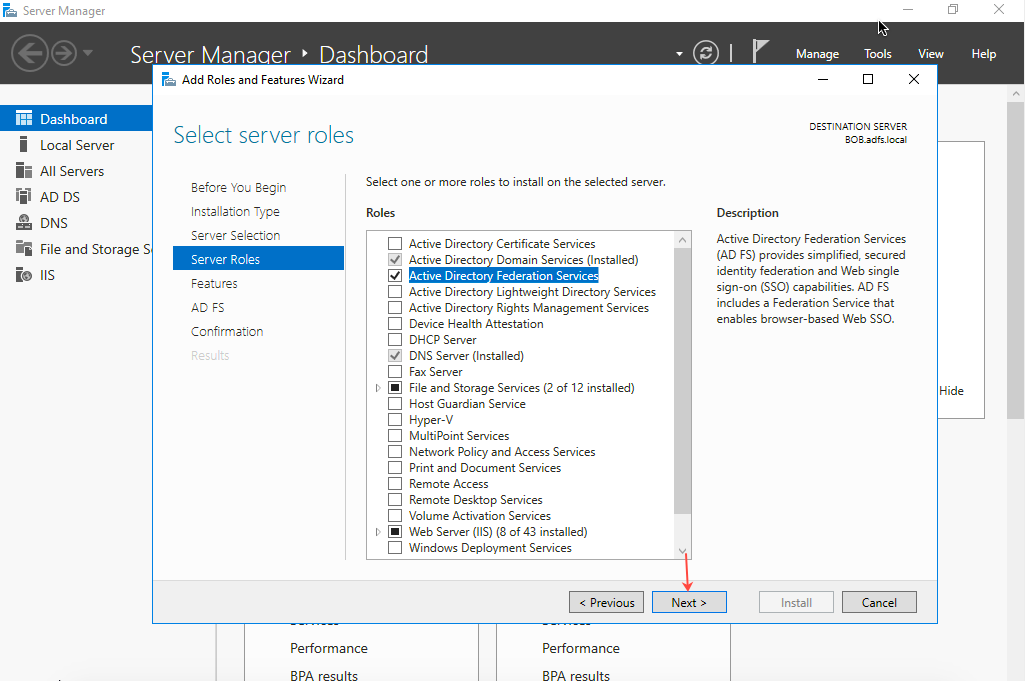
On the Select server roles page, select Active Directory Federation Services and then click Next.
Click Features and select .NET Framework 3.5 Features, then click Next.

On the next page, click Next.
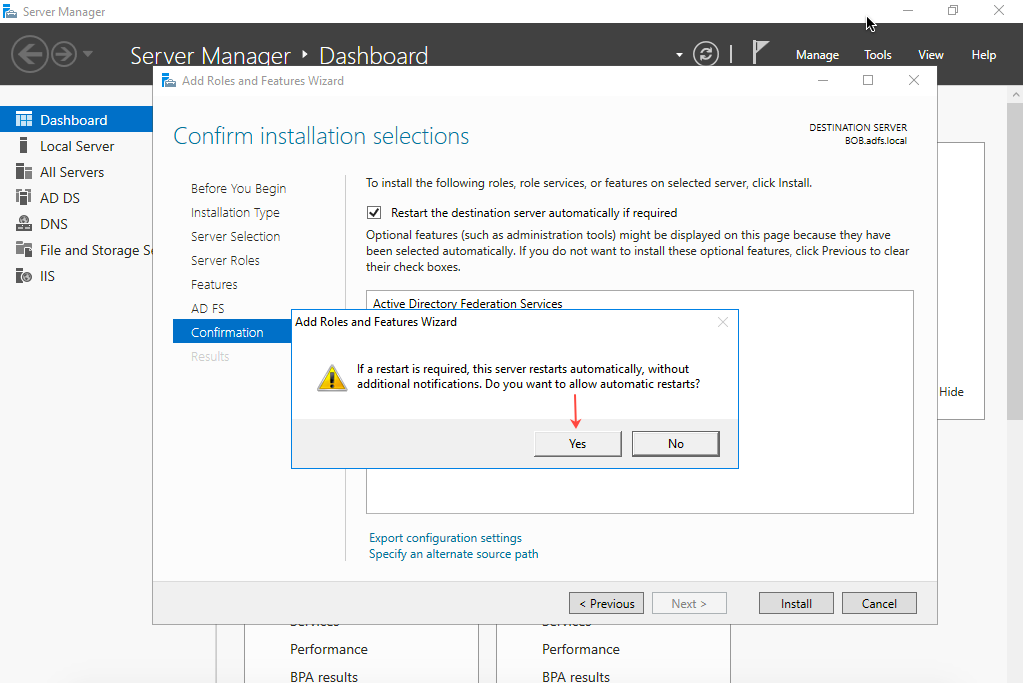
On the Confirmation page, select Restart the destination server automatically if required, click Yes to confirm, and then click Install.
Click Close when the installation is complete.
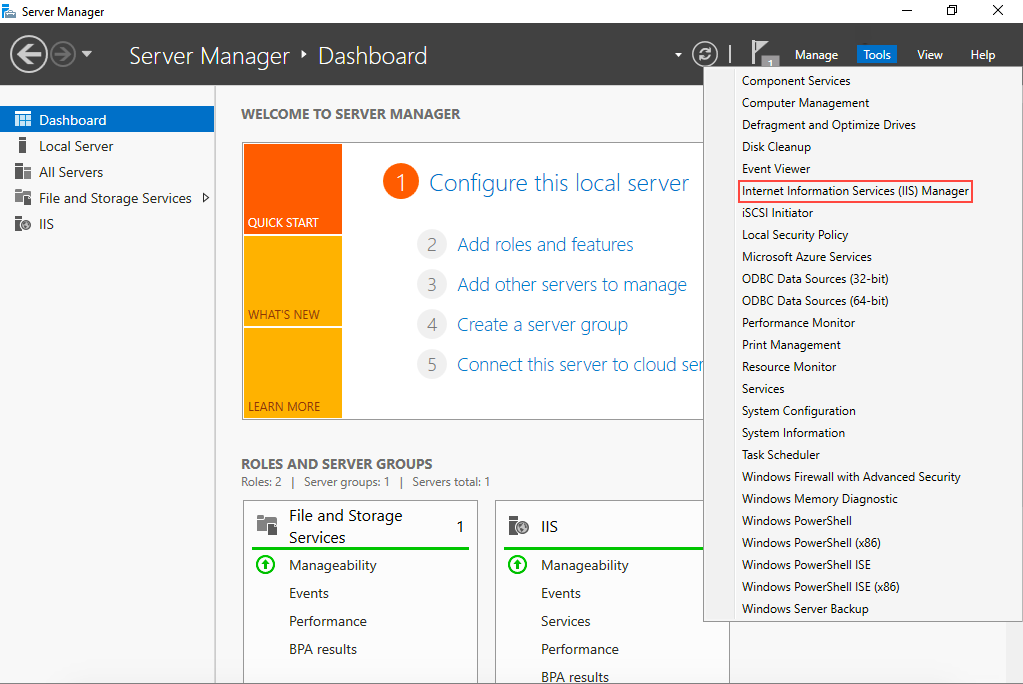
Go to Server Manager and navigate to Tools > Internet Information Services (IIS) Manager.
NOTE: You will see a notification Post-Deployment Configuration for AD FS. Ignore this notification for now. You must first create a SSL Certificate first to use with AD FS Server.
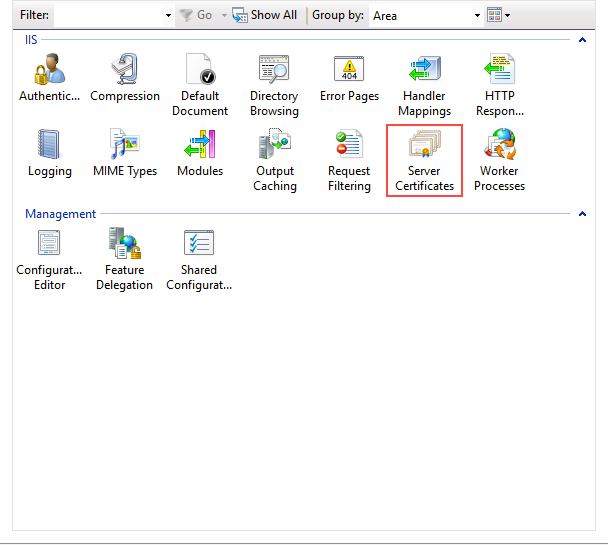
From the Home page of IIS Manager, click Server Certificates.
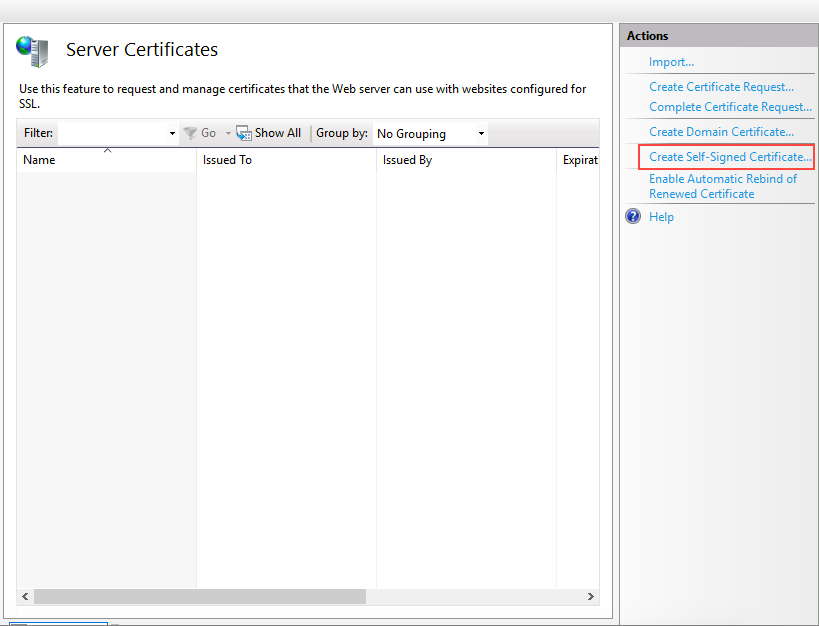
In the Actions pane, click Create Self-Signed Certificate.
On the Create Self-Signed Certificate tab, enter a user-friendly name in the Specify a friendly name for the certificate field, then select Personal. Click OK.
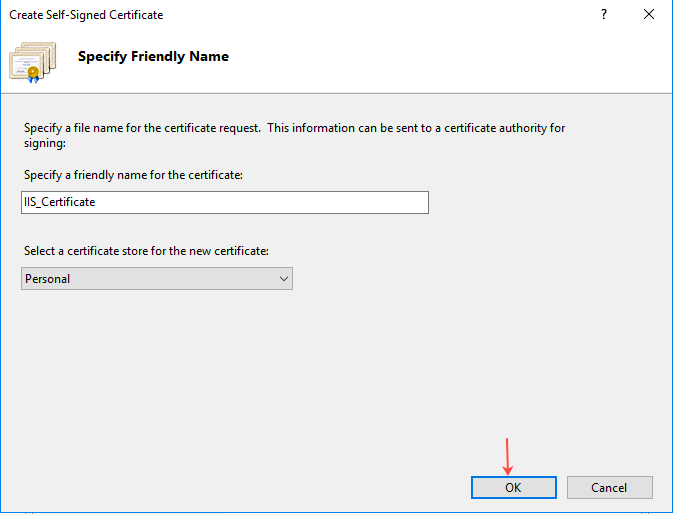
The SSL Certificate is now created.
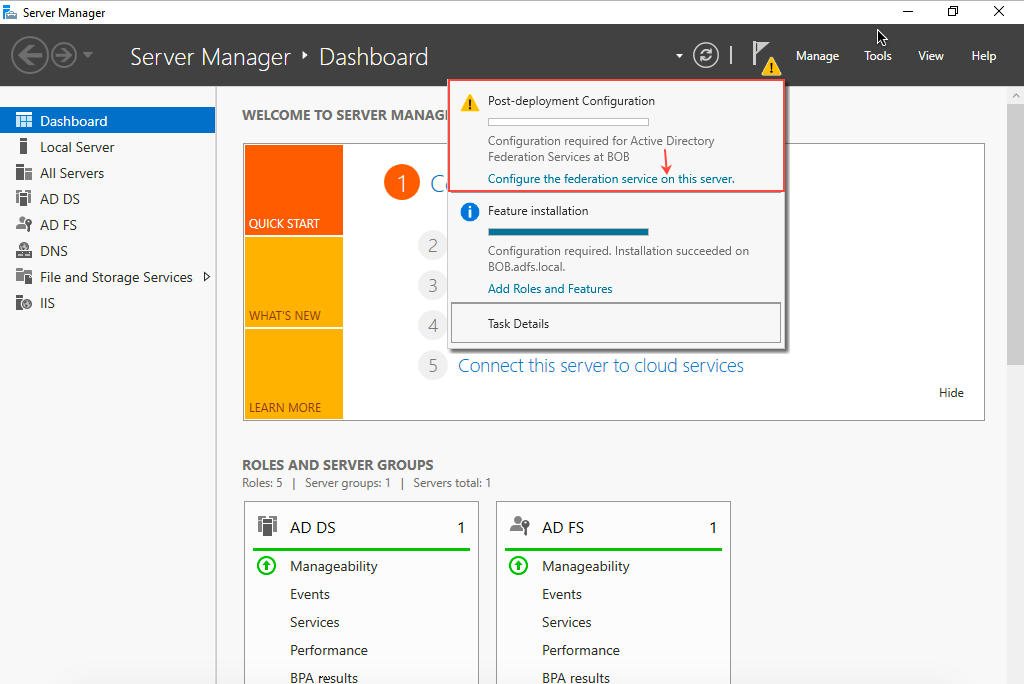
Go back to Server Manager. In the notification for Post-Deployment Configuration for AD FS, click Configure the federation service on this server.
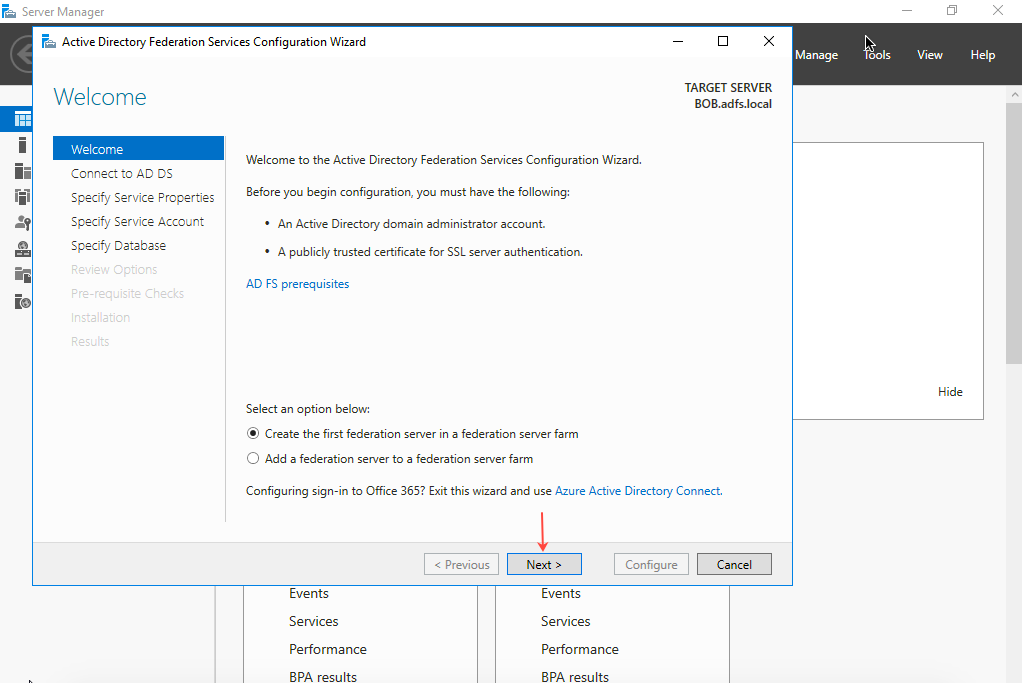
The Active Directory Federation Services Configuration Wizard opens.
Select Create the first federation server in a federation server farm and then click Next.
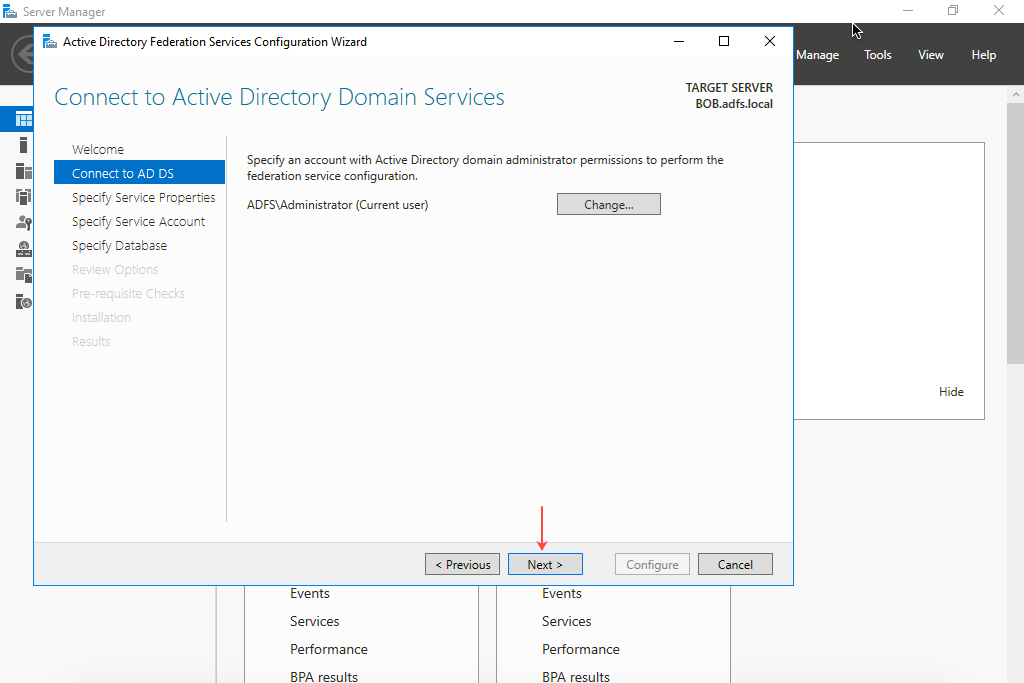
On the Connect to AD DS page, select the account to perform the Federation Service configuration, and then click Next.
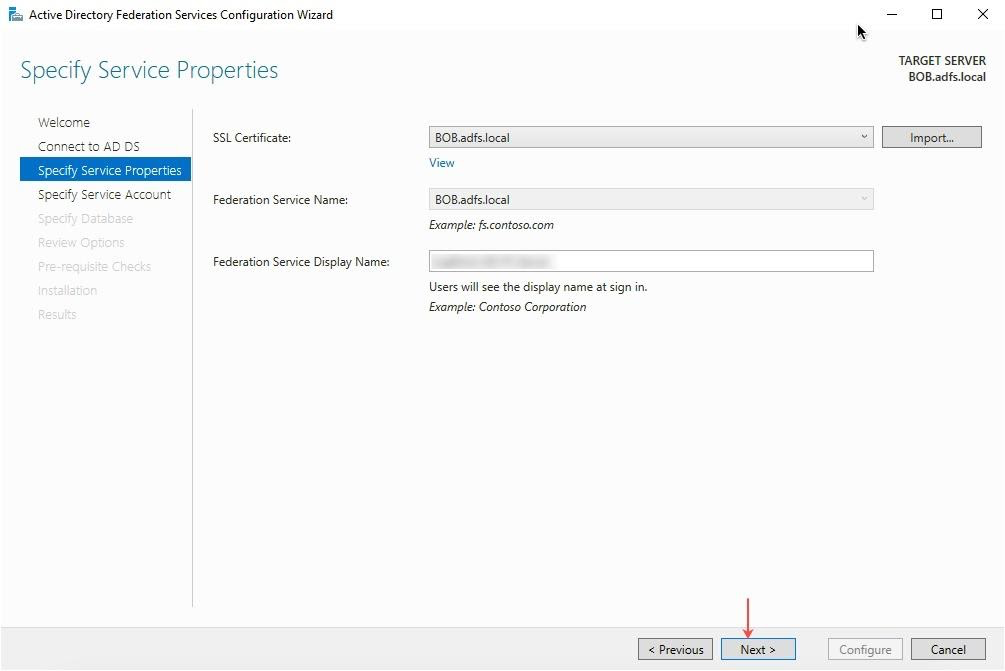
On the Specify Service Properties page, select the SSL Certificate, Federation Service Name, and Federation Service Display Name. (Example for Federation Service Display Name: Tenfold AD FS Server)
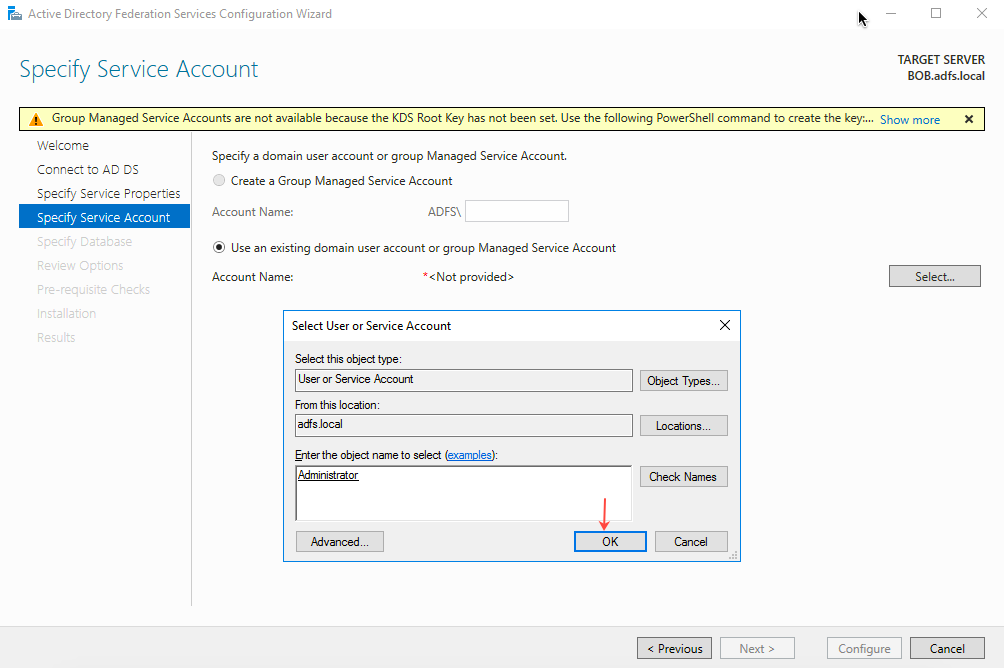
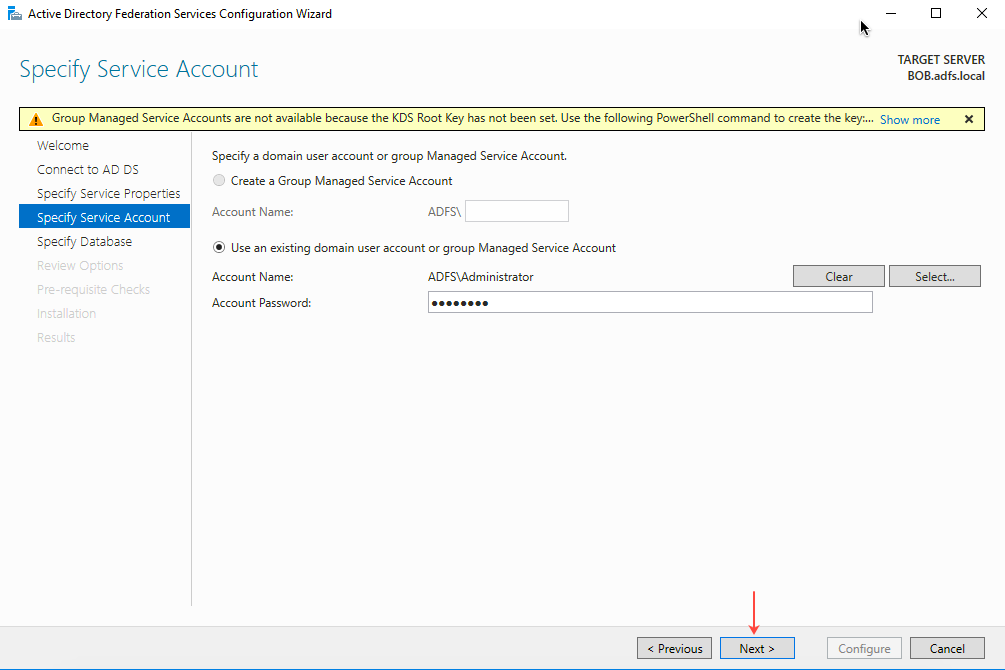
On the Specify Service Account page, select the Use an existing domain user account or group Managed Service Account option and click OK.
Enter the Account Password and click Next.
On the Specify Database page, select Create a database on this server using Windows Internal Database and then click Next.
On next page (Review Options), review all the options and click Next.
On next page (Prerequisite check), validate the prerequisites and then click Configure.

The next page shows the installation progress. Click Close when the installation is complete.
Section 4: Add relying party (Tenfold) to AD FS
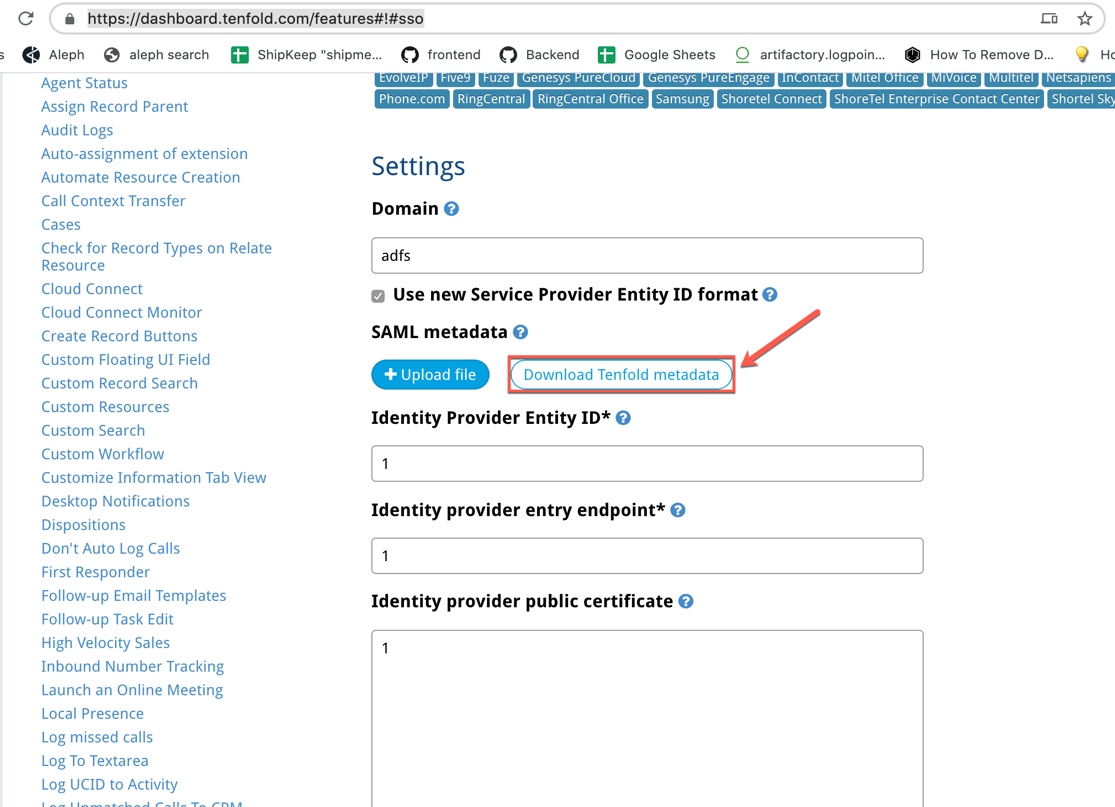
Using the Windows server browser, go to https://dashboard.tenfold.com/features and click the link for the Single Sign-On feature. Click Download Tenfold Metadata.
The Tenfold Metadata.xml downloads.
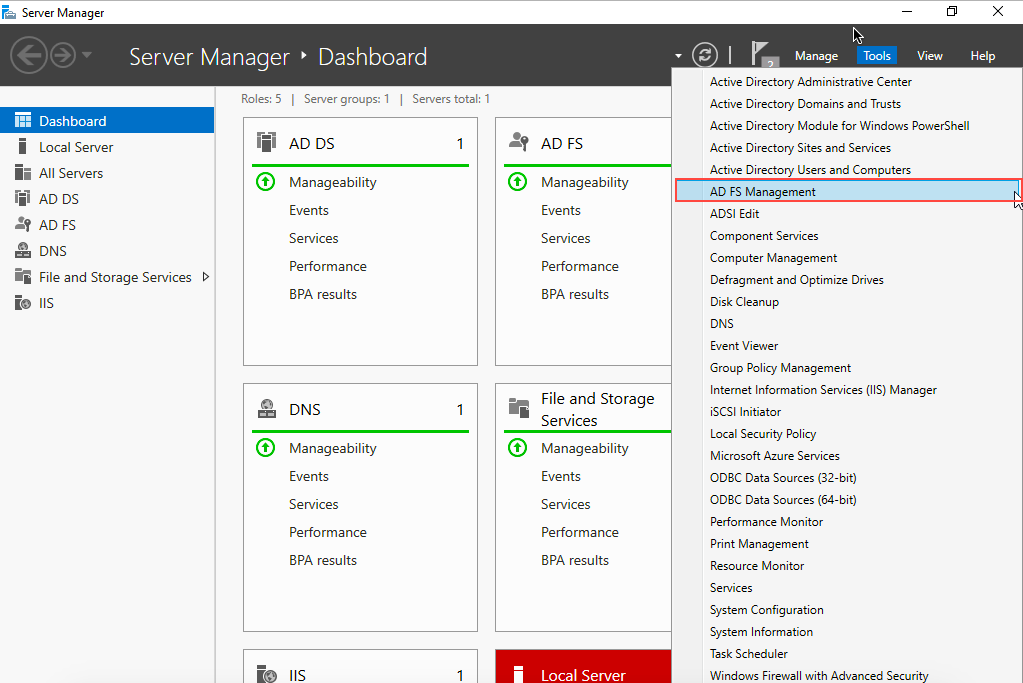
In Windows Server Manager, navigate to Tools > AD FS Management.
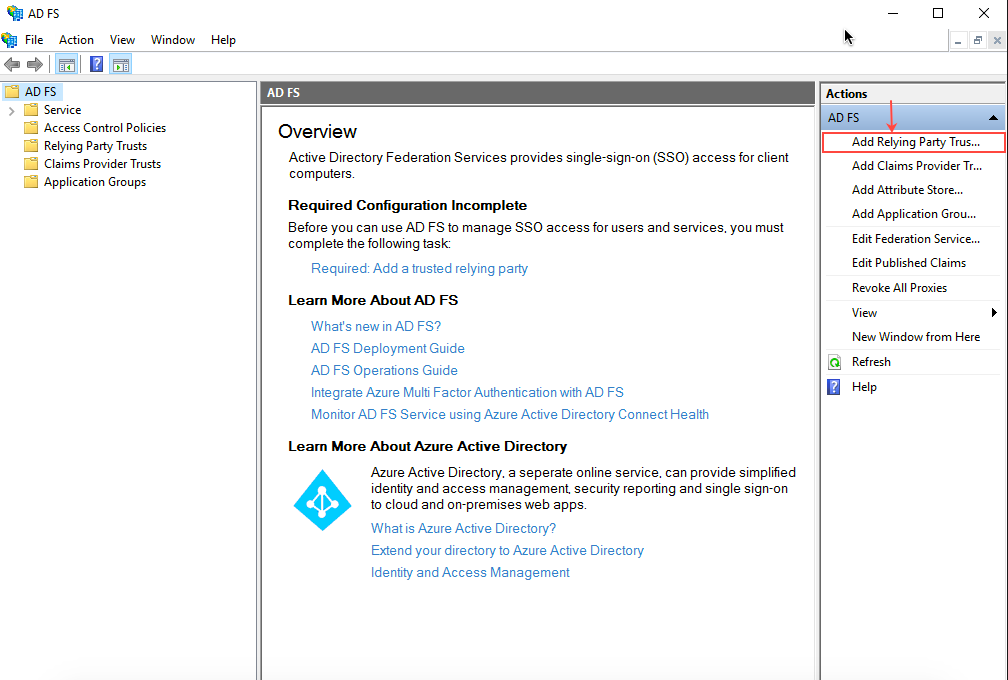
The AD FS panel opens. In the Actions pane, click Add Relying Party Trust.
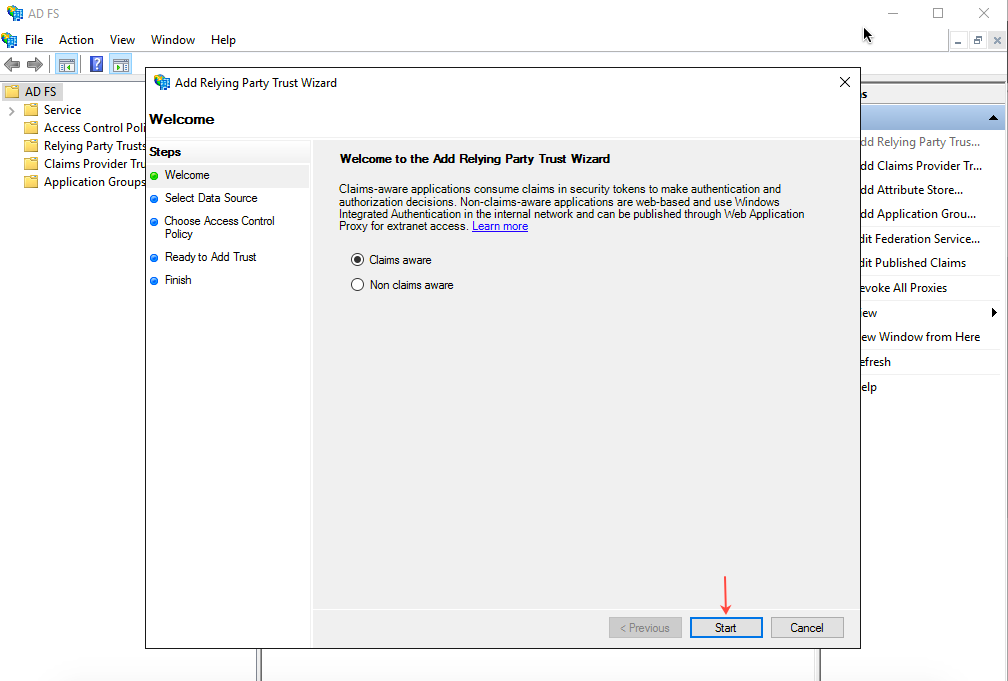
On the Welcome page of the Add Relying Party Trust Wizard, select the Claims Aware option and then click Start.
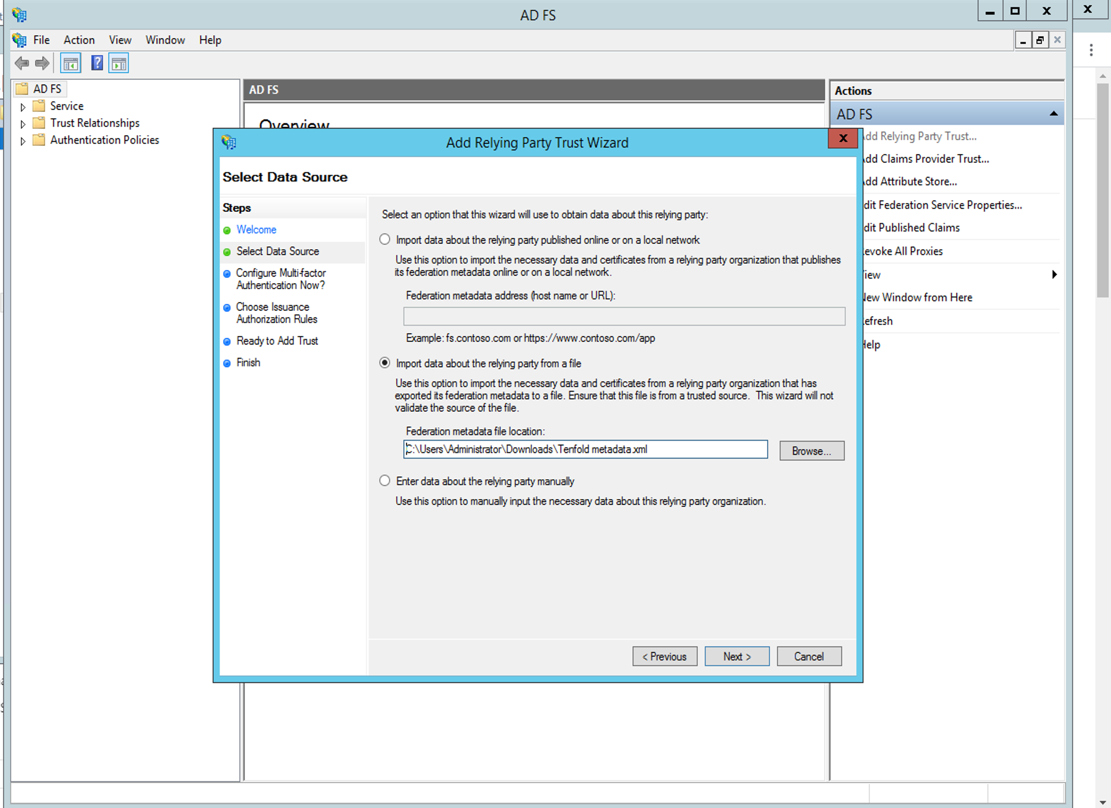
On the Select Data Source page, select Import data about the relying party from the file, and browse to the location of the xml file downloaded in Step 1.
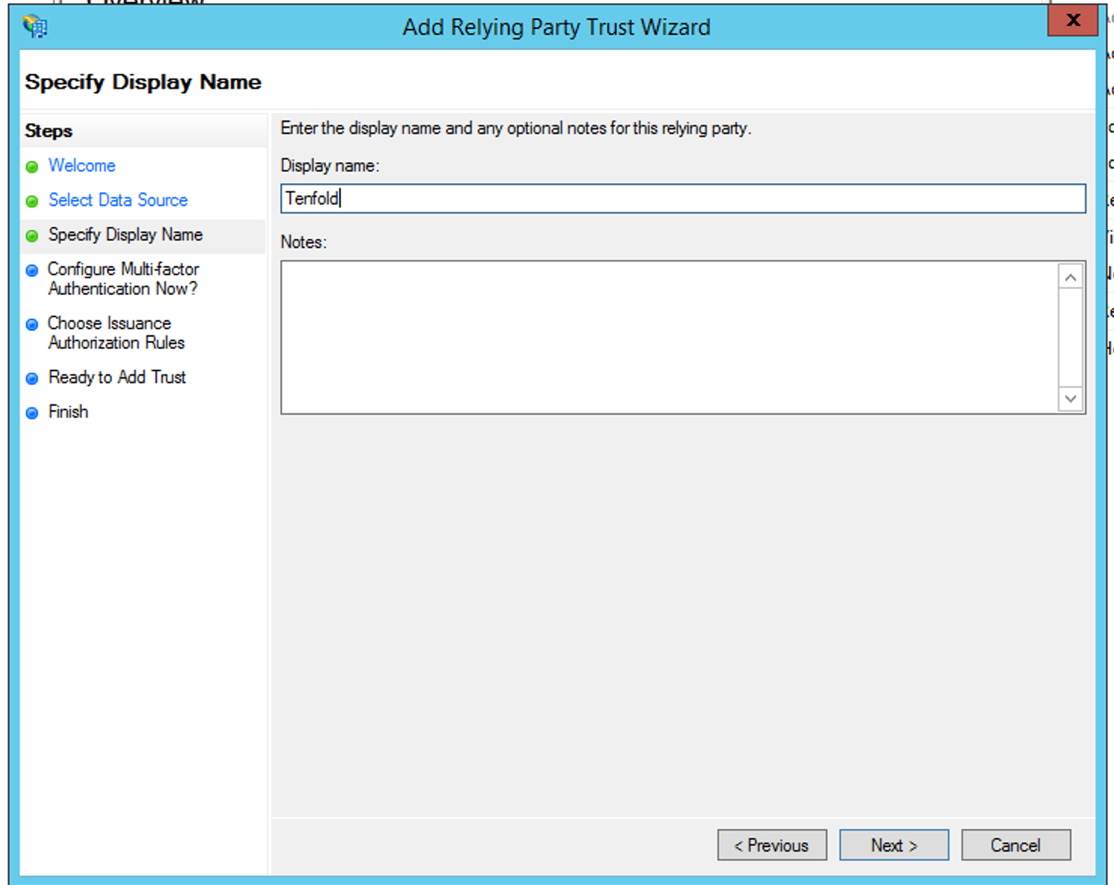
On the Specify Display Name page, enter the Display name and click Next.
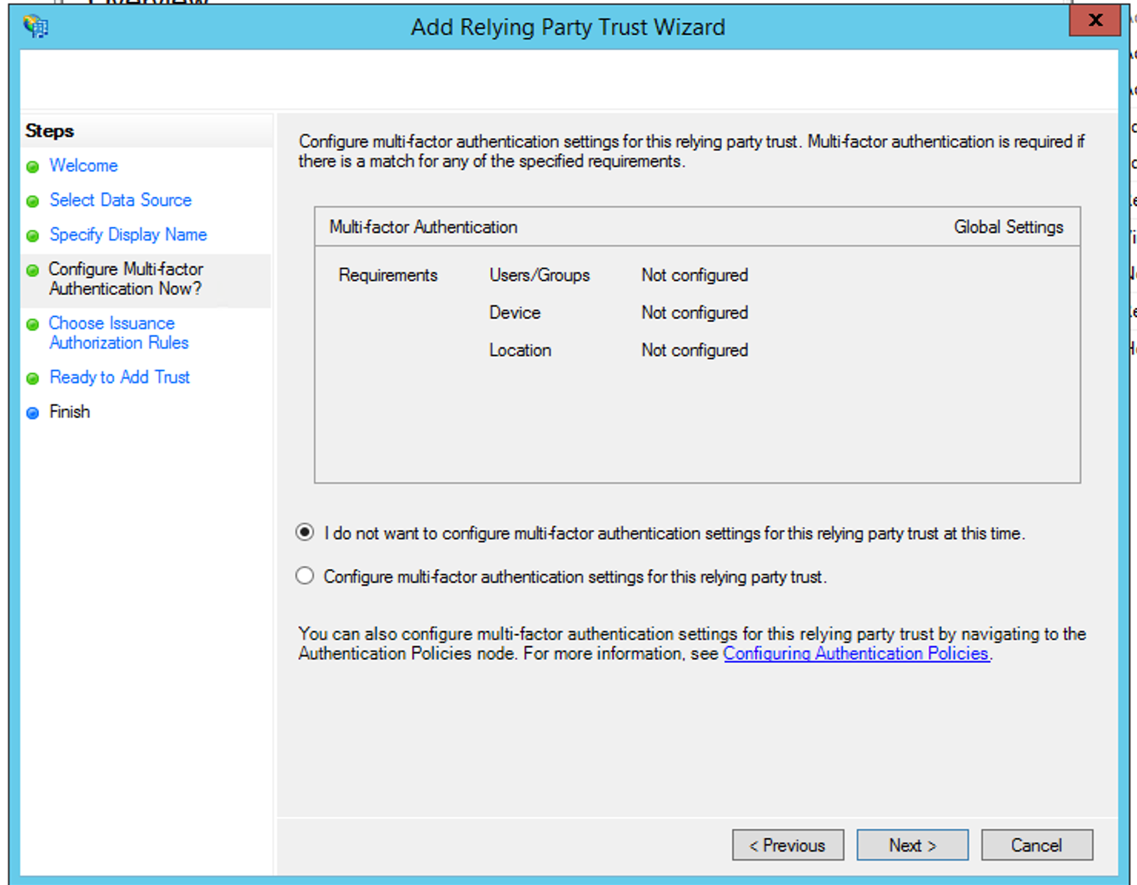
On the Multi-factor Authentication page, select I do not want to configure multi-factor authentication settings for this relying party trust at this time and then click Next.
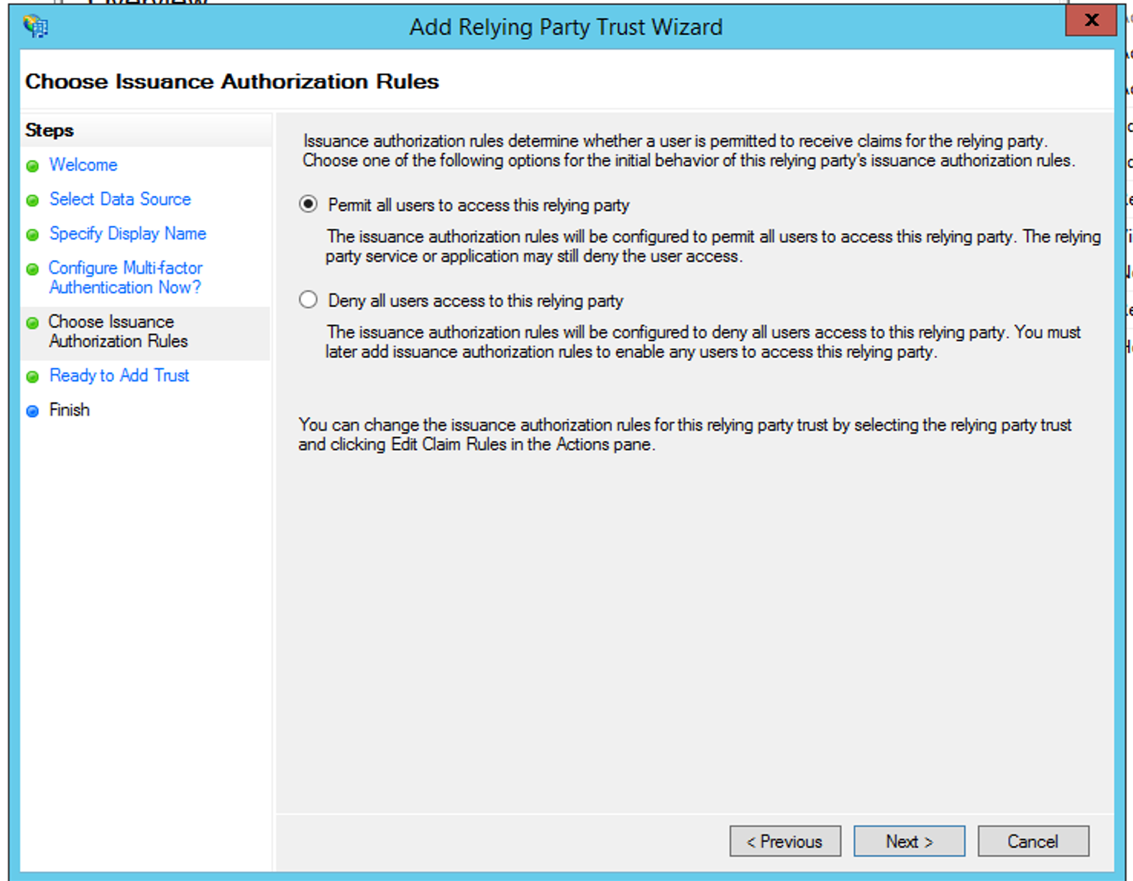
On the Choose Issuance Authorization Rules page, select Permit all users to access this relying party and then click Next.
On the Ready to Add Trust page, click Next.
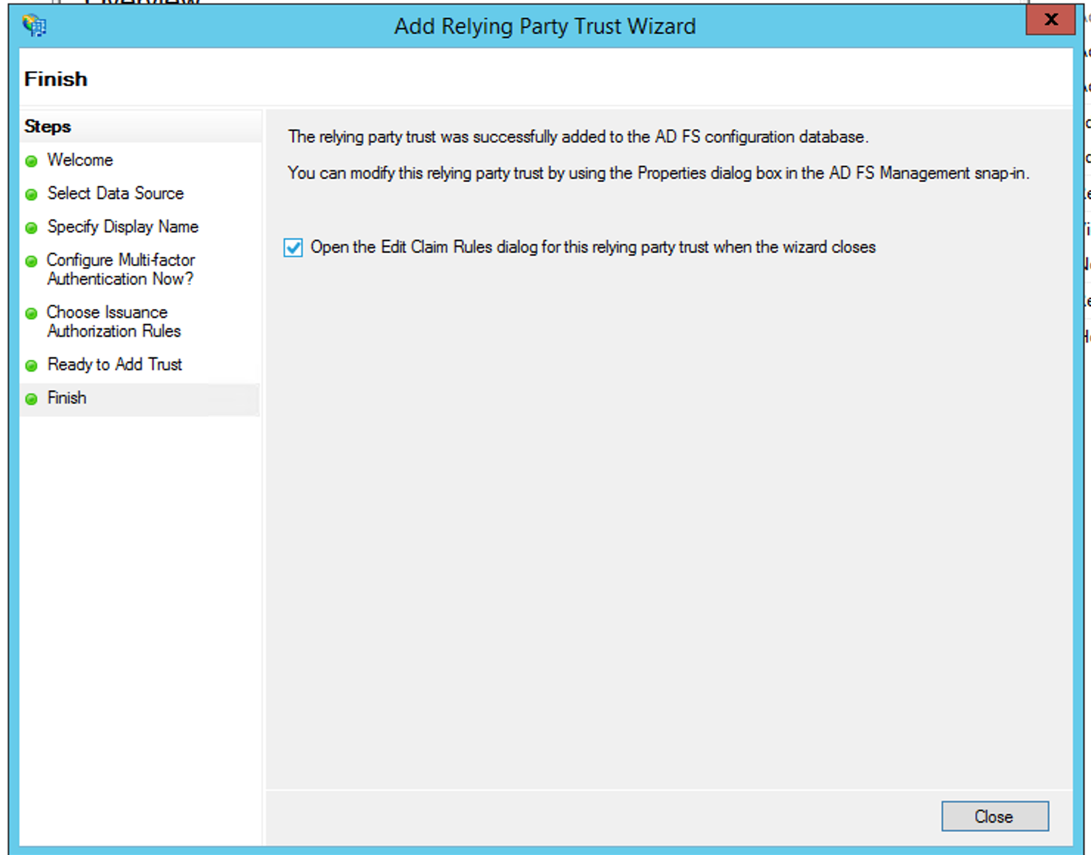
On the Finish page, select Open the Edit Claim Rules dialog for this relying party trust when the wizard closes and then click Close.
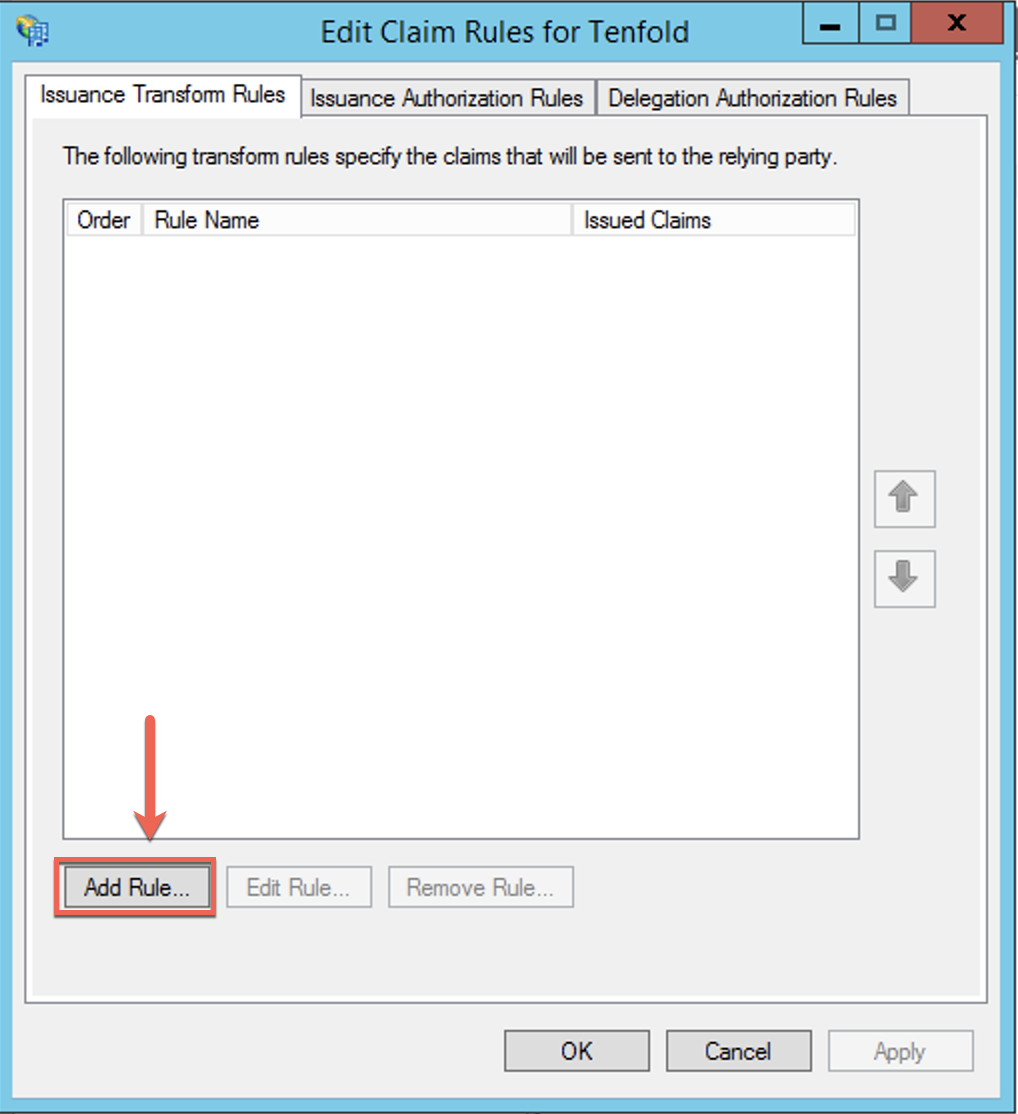
The Edit Claims Rules for Tenfold page opens.
Click Add Rule.
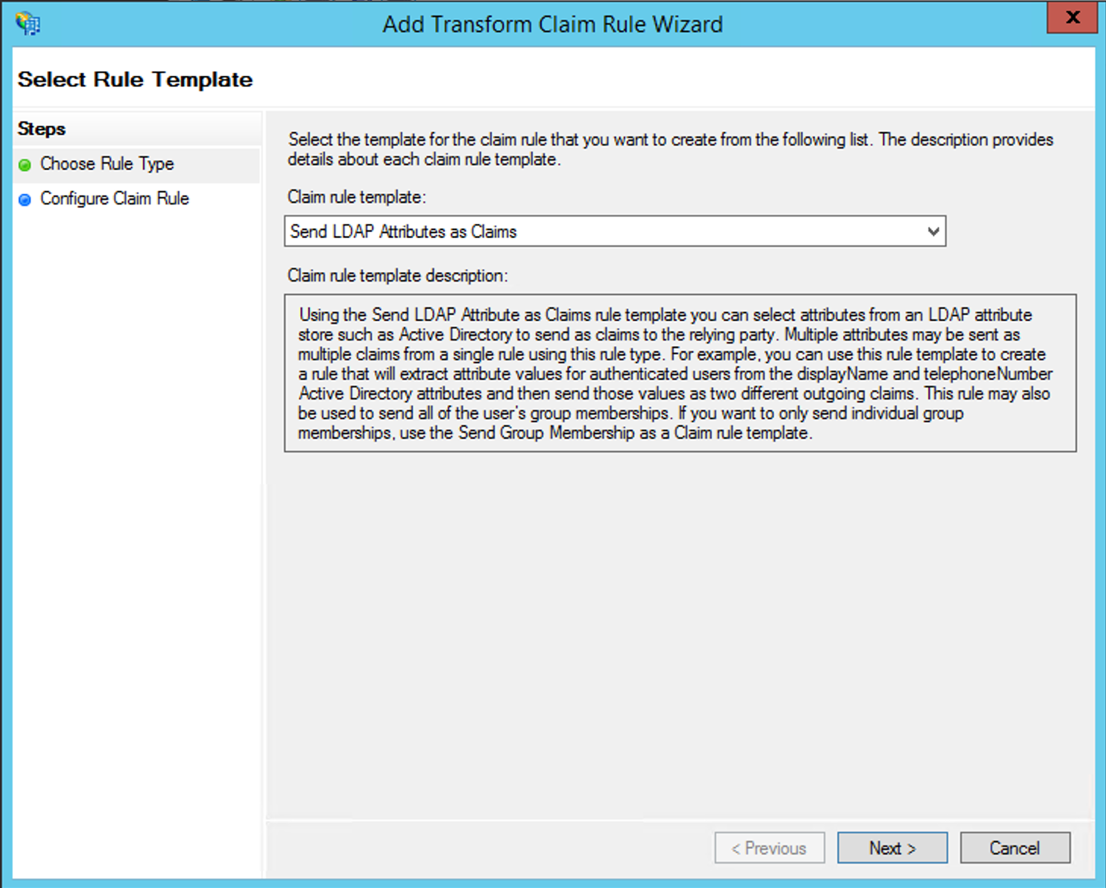
The Add Transform Claim Rule Wizard opens.
On the Select Rule Template page, select Send LDAP Attributes as Claims and click Next.
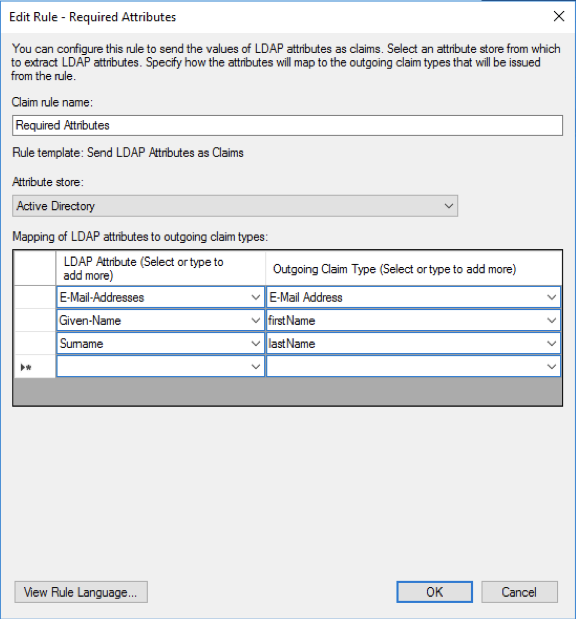
On the Configure Rule page, enter the Claim rule name, select Active Directory as the Attribute Store, and add mappings similar to the image shown below. Click OK.
Click Add Rule.
The Add Transform Claim Rule Wizard opens.
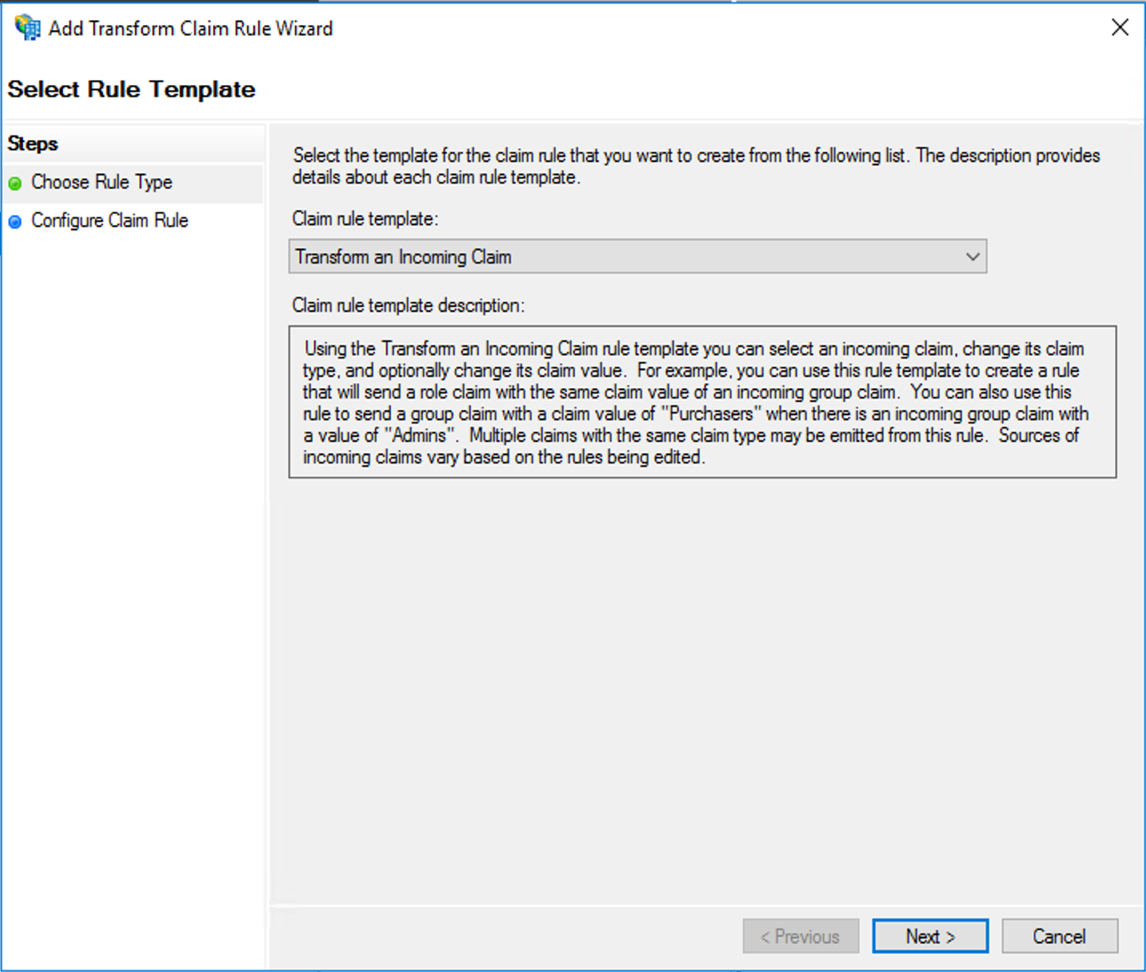
On Select Rule Template page, select Transform an Incoming Claim and click Next.
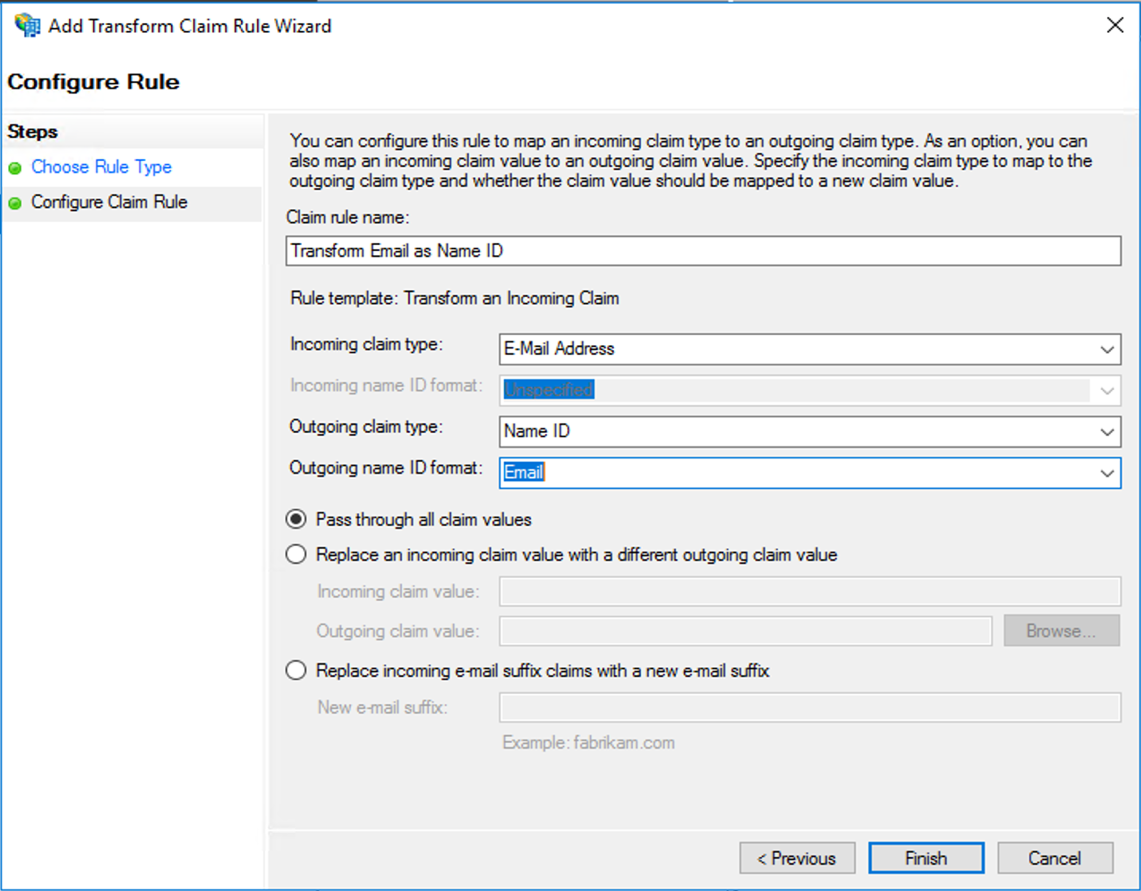
The Configure Rule page opens.
Configure the options as shown below and then click Finish.
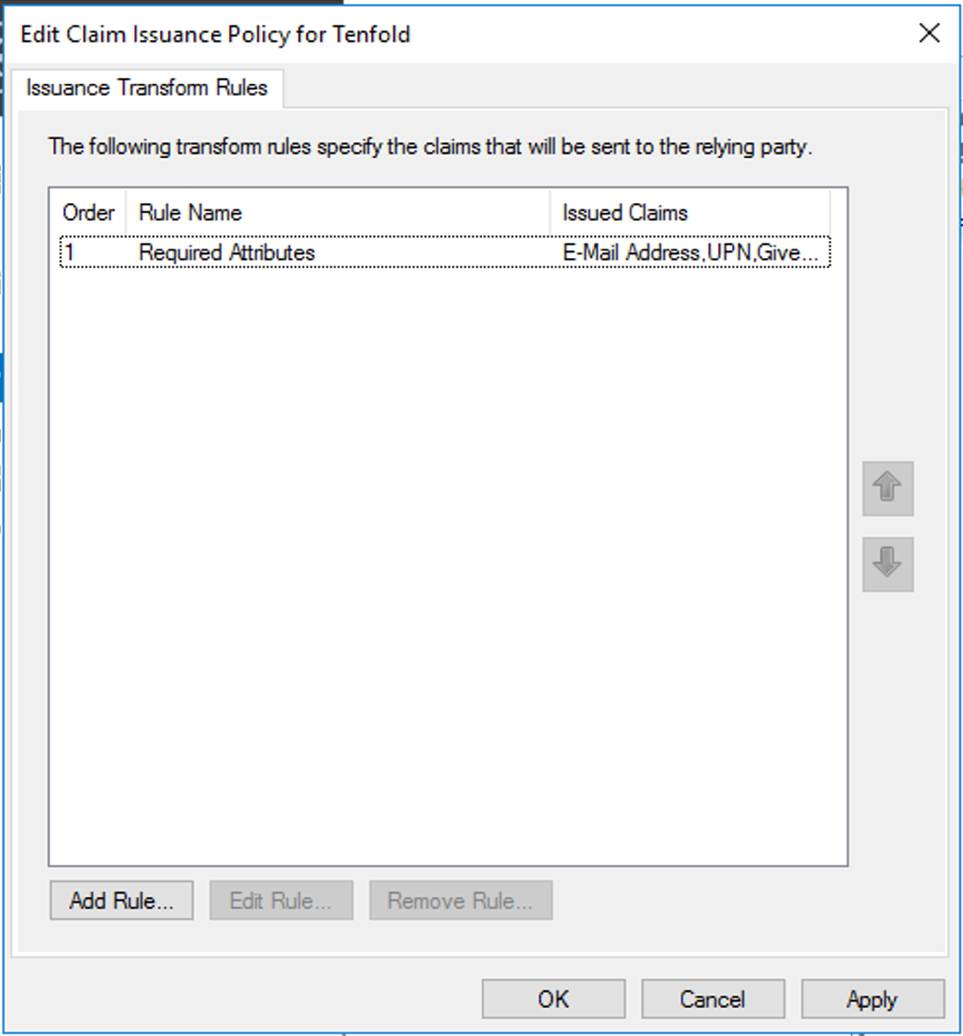
On the page that loads, click Apply and then OK.
Note
Because the user's email address is used for the Name ID, make sure the user has this attribute.
This completes the AD FS configuration.
Section 5: Configure Tenfold SSO
Download the AD FS metadata using this URL:
https://<adfs_server_domain_name>/FederationMetadata/2007-06/FederationMetadata.xml
Complete the information in the Single Sign-On feature.
NOTE: In most scenarios that do not use AD FS, Single Sign-On works by simply uploading this metadata to the Tenfold Single Sign-On settings. However, Tenfold is not able to parse the metadata correctly, so it is necessary to extract the following three parameters from the metadata and manually add them: Identity Provider Entity ID, Identity Provider entry endpoint, Identity provider public certificate.
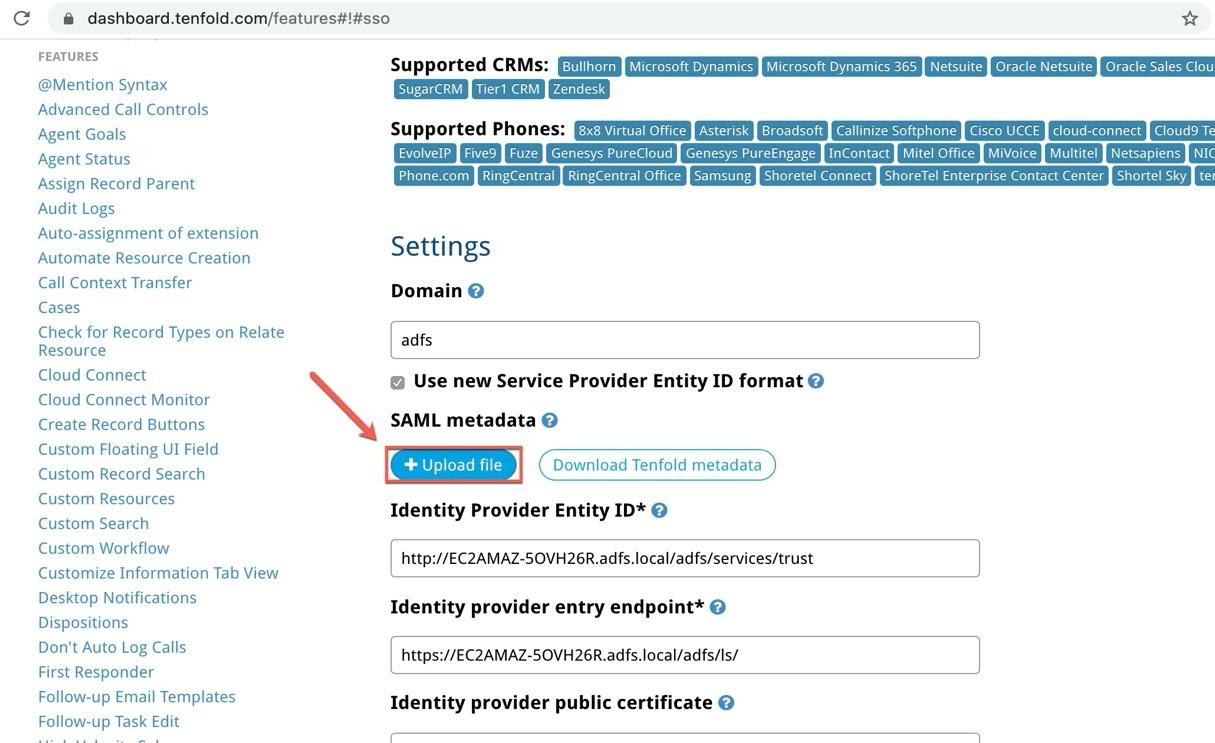
Identity Provider Entity ID
The
entityIDattribute ofEntityDescriptorelement.In the example below, this value is
http://EC2AMAZ-50VH26R.adfs.local/adfs/services/trust<EntityDescriptor xmlns="urn:oasis:names:tc:SAML:2.0:metadata" ID="_b207a111-f512-4fb1-b97f-155ba7849742" entityID="http://EC2AMAZ-5OVH26R.adfs.local/adfs/services/trust">
Identity Provider entry endpoint
The Location attribute of SingleSignOnService with HTTP-Redirect binding element.
In the example below, this value is
https://ec2amaz-5ovh26r.adfs.local/adfs/ls<SingleSignOnService Binding="urn:oasis:names:tc:SAML:2.0:bindings:HTTP-Redirect" Location="https://ec2amaz-5ovh26r.adfs.local/adfs/ls/" />
Identity provider public certificate
The signing certificate inside the
IDPSSODescriptorelement.